
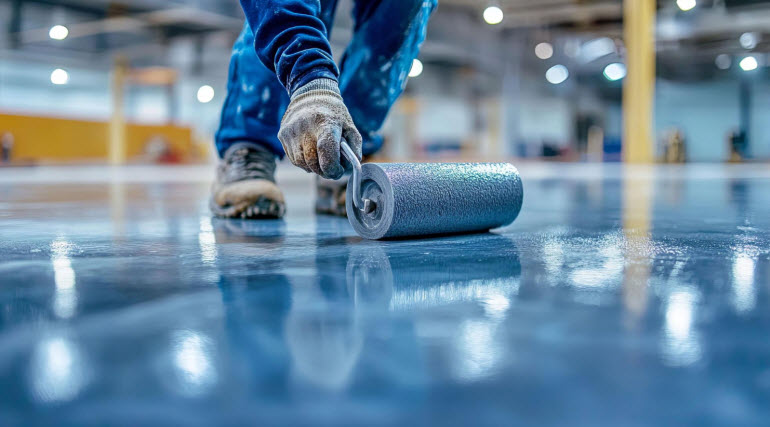
Whether you are upgrading a residential garage in East Vancouver, coating a commercial kitchen in Gastown, or finishing a warehouse floor near the Fraser River, an epoxy coating is one of the most durable investments you can make for your concrete surfaces. A seamless, high-gloss epoxy floor resists heavy vehicle traffic, chemical spills, moisture intrusion, and severe impact.
However, the secret to a flawless, long-lasting epoxy coating isn’t the paint roller or topcoat – it lies entirely in the underlying concrete preparation.
In Metro Vancouver’s damp coastal climate, skipping proper moisture testing or mechanical floor grinding leads directly to blistering, peeling, and premature coating failure.
At Canadian Floor Coatings, we believe that thorough preparation guarantees flawless performance. Here is your essential concrete preparation checklist to evaluate before hiring a professional epoxy installer in Vancouver.
Phase 1: The 5-Minute Concrete Health Self-Audit
Before laying down a single drop of epoxy resin, perform this four-step surface evaluation to determine your concrete’s baseline condition:
1. The Water Bead Absorption Test
Splash a few drops of clean water onto various sections of your bare concrete slab. If the water beads up immediately, the concrete has an active sealer, dense hardener, or oil contamination that must be shot-blasted or diamond-ground away. If the water absorbs within 30 seconds, the concrete pores are open and ready to bond with epoxy primer.
2. Moisture Vapor Emissions Check
Vancouver’s high water table makes ground moisture a primary cause of epoxy delamination. Tape a 2ft x 2ft piece of clear plastic sheeting tightly to your concrete floor for 24 to 48 hours. If heavy condensation forms under the plastic or the concrete turns dark, a specialized moisture-mitigating primer is required before epoxy installation.
3. Surface Cracks and Joint Assessment
Inspect the floor for hair-line expansion cracks, spalling, or deep divots. Epoxy coatings are non-structural; any active settling cracks will telegraph directly through the finished floor if they aren’t filled with heavy-duty epoxy polyurea joint fillers beforehand.
4. Previous Coating Integrity Test
If your floor was previously painted or sealed, scrape a small section with a putty knife. Flaking or soft coatings must be completely stripped down to raw, bare concrete. Epoxy will only adhere as strongly as the layer underneath it.
Phase 2: Professional Mechanical Preparation Protocol
Acid etching or quick pressure washing is never enough for a commercial-grade bond. Professional installers rely on mechanical diamond grinding to open concrete pores. When a certified flooring team prepares your space, they follow strict mechanical profile guidelines:
• Concrete Surface Profile (CSP) Leveling:
Using heavy planetary grinders equipped with diamond-matrix segments to achieve a CSP-2 or CSP-3 profile (a texture similar to 80-grit sandpaper).
• Dust Containment:
Utilizing industrial HEPA-filtered vacuum systems during grinding to keep indoor air clean and prevent airborne dust from settling back into open concrete pores.
Phase 3: The 4-Step Installation Sequence
Once concrete preparation passes diagnostic testing, the multi-layer coating application follows a precise chemical timeline.
1. Deep Surface Cleaning & Crack Repair:
Vacuuming all residual dust, degreasing oil spots, and filling expansion joints with flexible polyurea filler flush with the slab.
2. Moisture-Mitigating Primer Application:
Rolling a deep-penetrating 100% solids epoxy primer that bonds chemically into open concrete pores to block ground moisture pressure.
3. Basecoat & Decorative Flake Broadcast:
Applying a thick pigment-rich epoxy build coat, followed immediately by a full-coverage broadcast of decorative vinyl color flakes or quartz chips.
4. Polyaspartic Clear Topcoat Seal:
Scraping excess flakes flush and applying a UV-stable, chemical-resistant polyaspartic topcoat for maximum scratch and hot-tire resistance.
Epoxy Prep Quick-Rules:
• NO Acid Etching:
Always insist on mechanical diamond grinding for long-term coating adhesion.
• ALWAYS Test Moisture:
Concrete moisture levels above 4% require specialized moisture-barrier primers.
• NEVER Coat Over Oil:
Oil-soaked concrete must be thermally or chemically treated before diamond grinding.
Transform Your Floors with Canadian Floor Coatings
Don’t let poor concrete prep ruin your flooring investment. At Canadian Floor Coatings, our experienced installation teams bring industrial diamond grinding equipment, high-solids commercial resins, and certified technical skill to every residential, commercial, and industrial project across Vancouver and the Lower Mainland.


